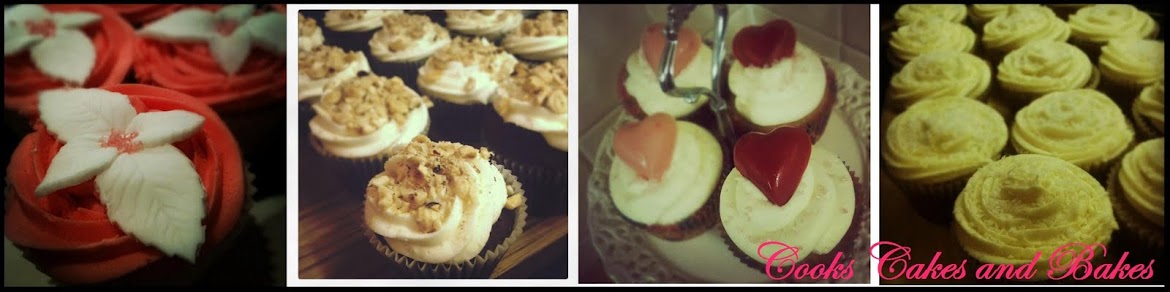
This post has absolutely naff all to do with St. Clements and neither do the cupcakes I frosted today apart from the fact that they are orange and lemon flavoured! Even though the weather isn't perfect, there is nothing wrong with having cirtussy summery cupcakes to celebrate a birthday with!
This weekend is my boyfriend's mum's 50th birthday party, so we came all the way down to Windsor from the North to celebrate - and make cupcakes for her. She asked me last year to make these for her and in all honesty it doesn't seem two minutes ago since she did!
Using a plain vanilla cupcake - find the recipe here - of which there were 64 of them in total (excluding the one I dropped on the floor!!) I then iced 32 with orange butter cream frosting and the other 32 with lemon butter cream frosting...

- Orange butter cream frosting - enough for 32 -
Ingredients:1100g icing sugar
340g Lurpak unsalted butter at room temperature
x1 tbsp orange flavouring
Grated zest of x2 oranges
x1 whole cap yellow colouring
x2 drops red colouring
Method:
1. Gently grate the orange zest using a fine cheese grater - similar to the one you would use to grate parmesan - in to a small bowl.
2. Add and mix all of the above ingredients together in a large bowl - the longer you whisk/hand mix it the fluffier and lighter it gets.
3. Spread on to your cakes with a flat knife, or using a piping bag, pipe the frosting on to your cupcake - I used a star shaped nozzle and piped the frosting on in a circular motion.

Ingredients:
1100g icing sugar
340g Lurpak unsalted butter at room temperature
Juice of x1 lemon
Grated zest of x2 lemons
x2 caps of yellow colouring
Method:
1. Mix the lemon juice and 100g of icing sugar together in a small bowl.
2. Add and mix all of the above ingredients together in a large bowl - the longer you whisk/hand mix it the fluffier and lighter it gets.
3. Spread on to your cakes with a flat knife, or using a piping bag, pipe the frosting on to your cupcake - I used a star shaped nozzle and piped the frosting on in a circular motion.


